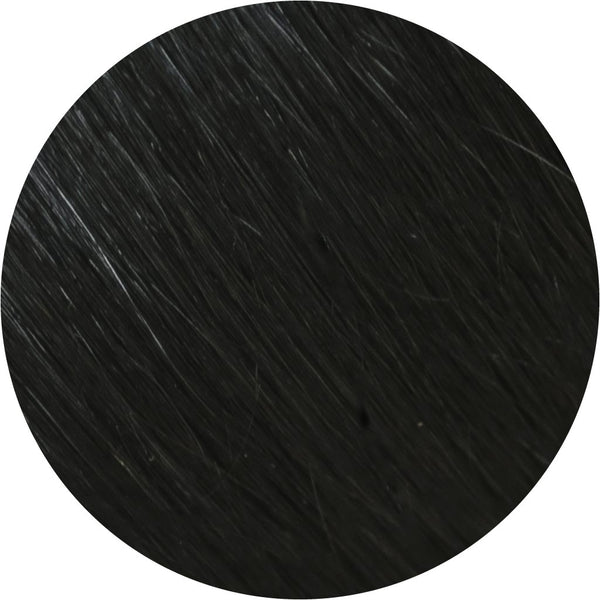
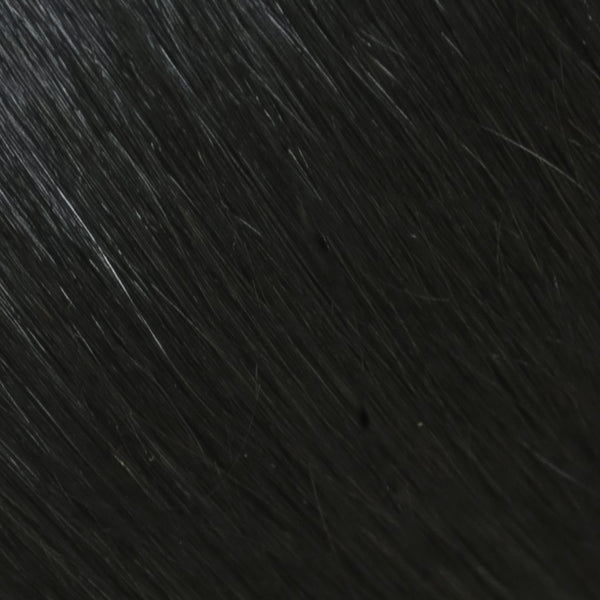
#1 Black 18" Clip In
Achieve longer, fuller hair in just minutes with ISO Beauty Human Remy Clip-In Hair Extensions. Made from 100% Remy human hair, these high-quality extensions retain the cuticle layer, ensuring a natural, smooth texture that seamlessly blends with your own hair. The clip-in design makes for quick and easy installation, perfect for temporary styling changes or special occasions. With proper care, these extensions can be reused for up to a year, giving you long-lasting, versatile options to transform your look whenever you wish. With ISO Beauty Human Remy Clip-In Hair Extensions, enjoy beautiful, voluminous hair that is easy to apply, style, and maintain. Perfect for everyday glamour or special events!
Features
- Ready-to-Use: Apply in just 3 minutes and remove in 30 seconds for easy styling.
- 7 Clip-In Weft Pieces: Includes 2 Large, 3 Medium, and 2 Small wefts for a customizable fit.
- 100% Natural REMY Human Hair: Soft, natural-looking hair that can be flat ironed, curled, or colored at the appropriate temperature.
- Invisible Clips: Double-stitched, discreet clips ensure a secure, seamless installation.
- Long-Life Extensions: Durable for up to 1 year of use with proper care.
- Super Lightweight: Comfortable to wear all day with no added bulk.
Directions
-
Start with a 2-Clip Weft:
- Brush your hair and extensions to remove tangles.
- Section your hair at the nape of your neck and secure the rest up.
- Tease the section and place the 2-clip weft close to the roots, securing tightly and snapping the clips shut.
-
Install the 3-Clip Weft:
- Create a part about an inch above the 2-clip weft and tease the section.
- Attach the 3-clip weft by securing the middle clip at the roots, followed by the side clips.
-
Install the 4-Clip Weft:
- Part the hair about an inch above the 3-clip weft and tease.
- Install the 4-clip weft, starting with the center clips and then the sides.
-
Install Another 4 or 3-Clip Weft:
- Create another parting about an inch above the first 4-clip weft and install your second 4-clip or 3-clip weft, depending on the length.
-
Install the 3-Clip Weft:
- Part a thin section of hair two inches below the crown.
- Attach the middle clip first, followed by the side clips.
-
Install Two 2-Clip Wefts:
- Part thin sections above each ear and attach a 2-clip weft on each side for a seamless look.
-
Style and Blend:
- Brush your hair and check for any visible clips. Add curls or waves to blend the extensions with your natural hair. For added protection, use a heat protectant like the Kashmira Heat Protector Serum.
Hot Tip: For extra security, lightly tease the roots where you plan to clip in the extensions to ensure they stay in place.
Care
- Brush your extensions to remove tangles.
- Soak in lukewarm water with a gentle shampoo.
- Massage the shampoo through, avoiding the clips, and rinse thoroughly.
- Condition the extensions, leaving the conditioner on for a few minutes, then rinse.
- Dry gently by blotting with a towel and allowing the extensions to air dry or use a low heat setting on a hair dryer.


